Mobicloud text tutorial
This is a tutorial for the MobiCloud graphical composer, in the traditional form, i.e. in HTML with pictures. If you want to see a video tutorial, check out the video tutorial page .
Contents
Introduction
The MobiCloud Web UI is a graphical composer interface to generate DSL specifications in the MobiCloud DSL. More information on the MobiCloud DSL can be found in the MobiCloud paper in Cloudcom 2010. This tutorial follows the building of an illustrative application to show the capabilities of the composer.
The composer is available at MobiCloud Web site
Scope and Applicability
- The composer supports the basic MobiCloud specification. The current version does not support extensions.
- The composer only generates the DSL specification and the code for the targeted platforms. Compiling the generated code requires the relevant SDKs and the IDE setup.
- The composer may not work with all browsers. Take a look at MobiCloud Web UI page for the tested browsers / platforms that is guaranteed to work (or browsers known not to support this UI).
Hello World : A Running Example
This tutorial follows the creation of a hello world program. However, unlike the traditional hello world programs that are one liners, this hello world generates rather a large amount of program code consisting of data storage, remote communication and mobile based native user interface. The rest of this tutorial describes the major components of the Web UI as well as the step-by-step instructions in creating the hello world.
What does the 'Hello World' do ?
Similar to other hello worlds, this one does nothing fancy, except illustrate the use of the language and the major components of the generated code. This hello world has
- A mobile UI with a textbox and a button to fetch a greeting
- A back-end application with a database that stores a set of greetings [In this case only 1]
The action would be just pressing the button, which fetches the greeting and displays it on the mobile device. This process requires
- passing the request to the server to fetch the greeting
- fetching the greeting from the database
- encoding the values in XML and sending it to the mobile device
- decoding the values in the mobile side and displaying it in the UI
Important UI components
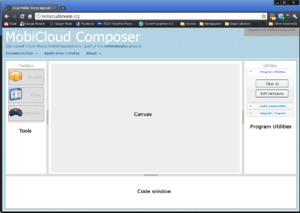
The following figure illustrates the most important components of the UI.
The Toolbox contains the Model, View and Controller objects that can be dragged on to the canvas. Canvas is the main drawing area. When objects are added to the canvas, the code window automatically updates, showing the relevant code fragments. The Utilities pane includes useful tools, such as 'clear all' and 'validate'.
Starting a Composition
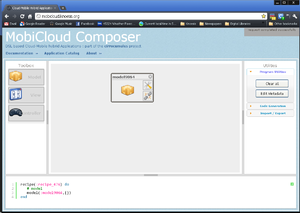
Drag and drop a Model object, View object and a Controller object on to the canvas. You can move these objects around the canvas and place them wherever you like. If the objects were added erroneously, you can simply remove them by clicking on the close button on the top right hand corner of each floating object.
Editing Attributes
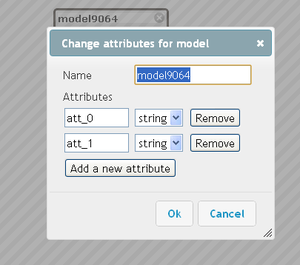
Each component has unique attributes that can be edited. The relevant dialog box pops up when clicked on the Edit Attributes button on each floating object.
Editing Model Attributes
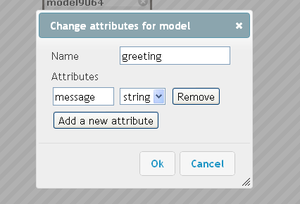
Models have key value pairs, each key is a name and the value is a predefined type identifier - Say string or int.
In this case, change the name to greeting and add one string attribute named message.
Editing Controller Attributes
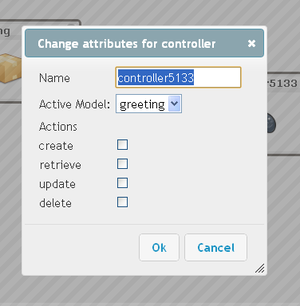
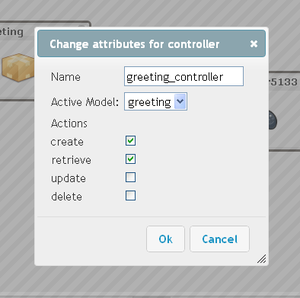
Controllers have actions and each action has a pre-defined model. This UI associates a model object with the whole controller (not each action) as a best practice. The model drop down is automatically populated with the model objects that are already in the canvas. The actions are also pre-defined - create, retrieve, update and delete.
For hello world, name the controller as greeting_controller and enable the create and retrieve actions.
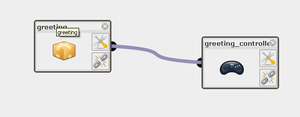
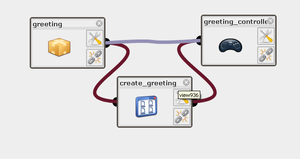
This generates a flexible link between the controller object and the model object, illustrating their connection.
Editing View Attributes
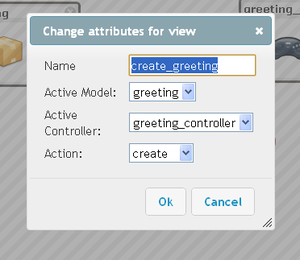
View objects contain the basic details to generate a UI. Each view is associated with a model, a controller and the relevant action.
In this case, create two views, one for create and the other for retrieve.
Editing Metadata
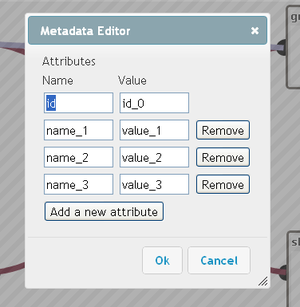
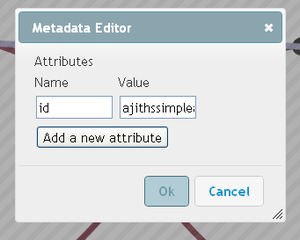
Metadata editing needs to be performed via the utility tools (Edit Metadata button). Pressing this button brings up the Metadata editing dialog.
For this program, all you need is an id attribute. The value of the id attribute depends on your targets, for example, the case of Google App Engine requires the id to be a valid Google app id.
Running the code Wizard
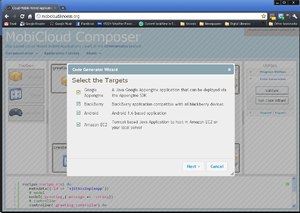
Once the metadata is added, press the Run Code Wizard button to start the code generator. The first dialog box is a target selection window that enables one to select the targets.
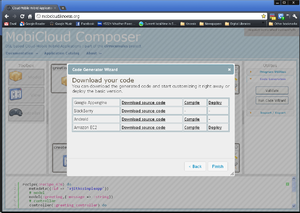
The next window produces the generated code as zip files to download.
What is Next ?
The code can be downloaded to modify locally or directly deployed to some of the clouds.
